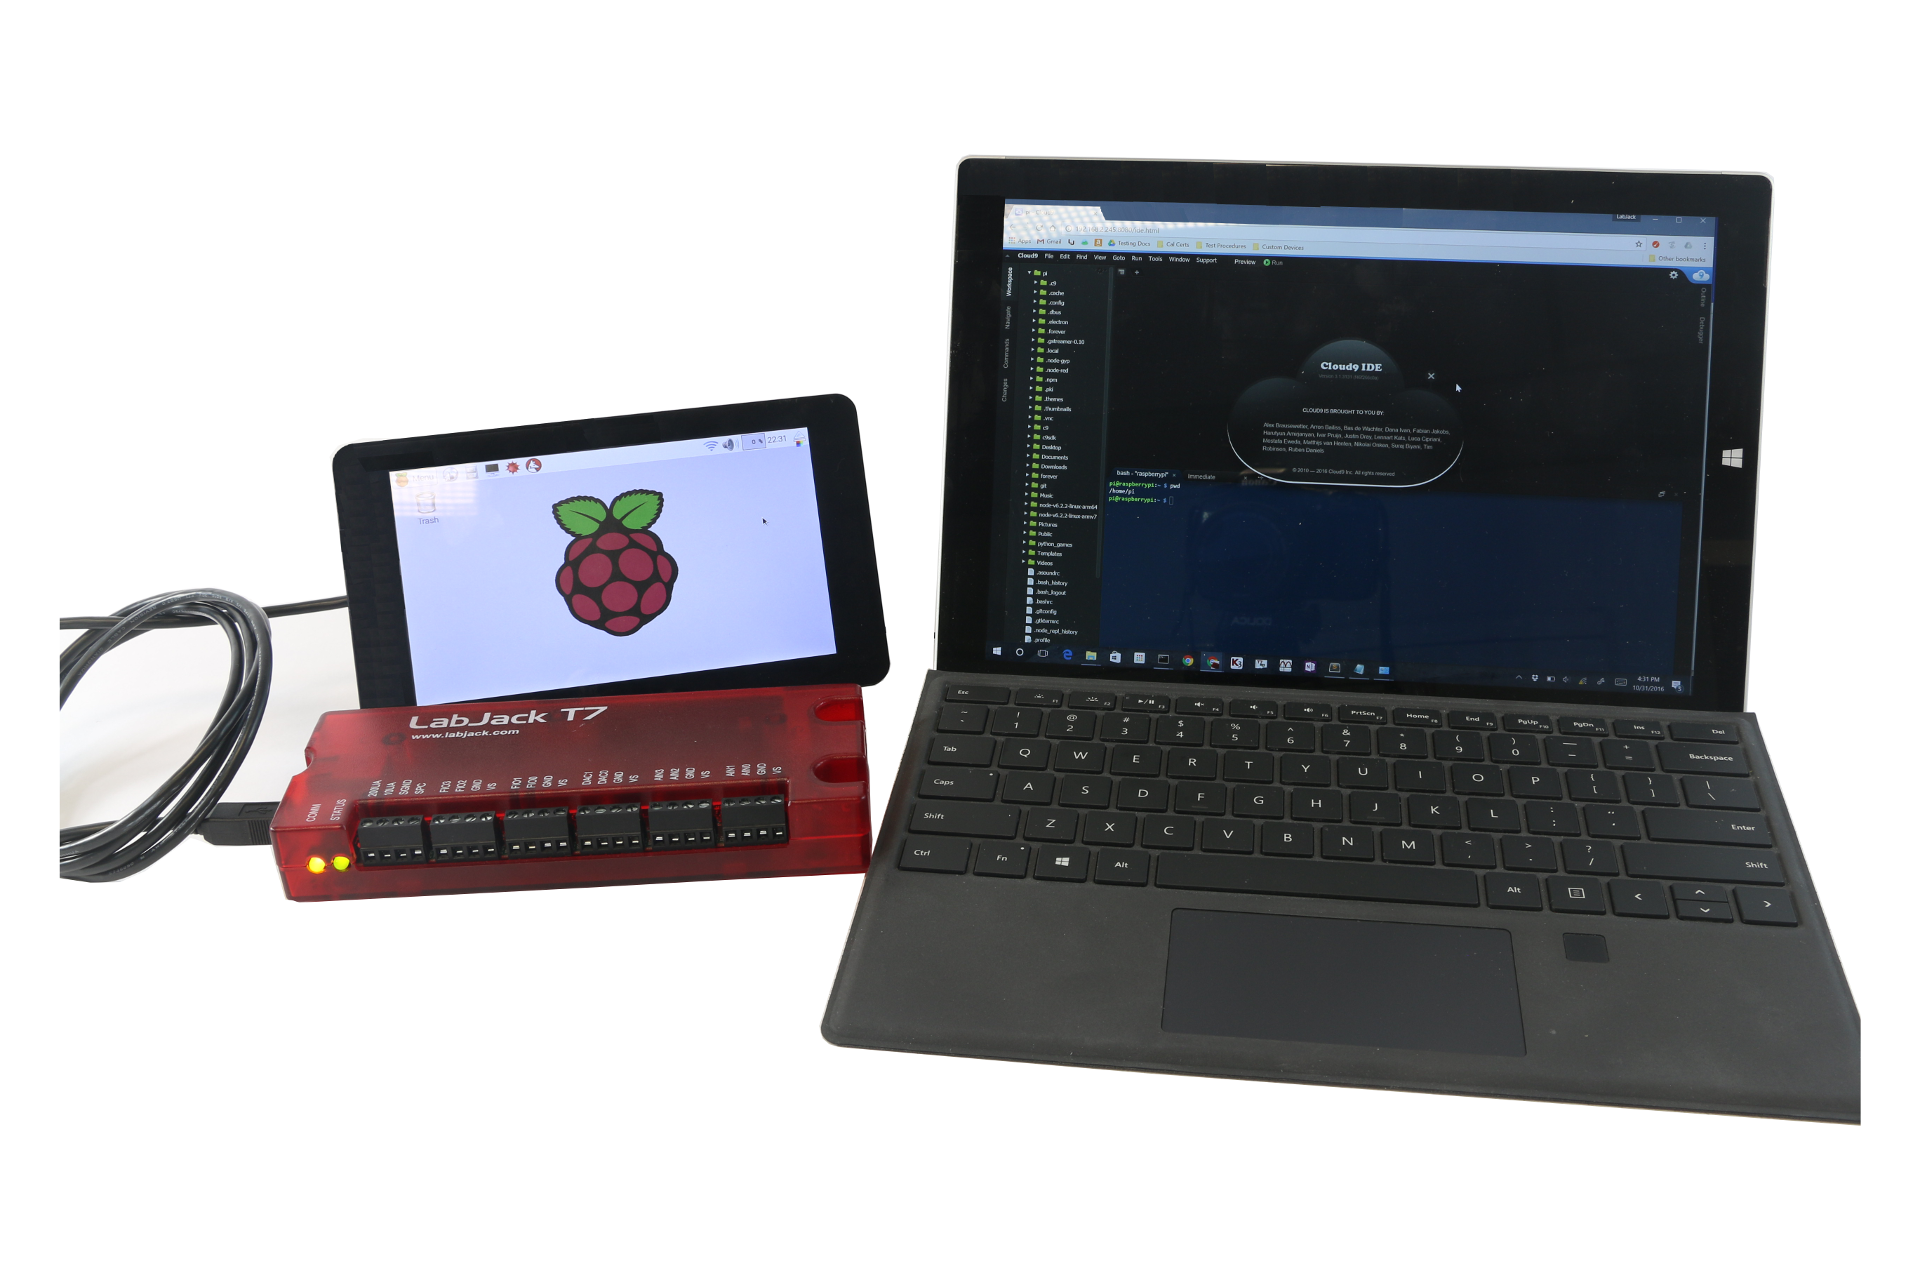
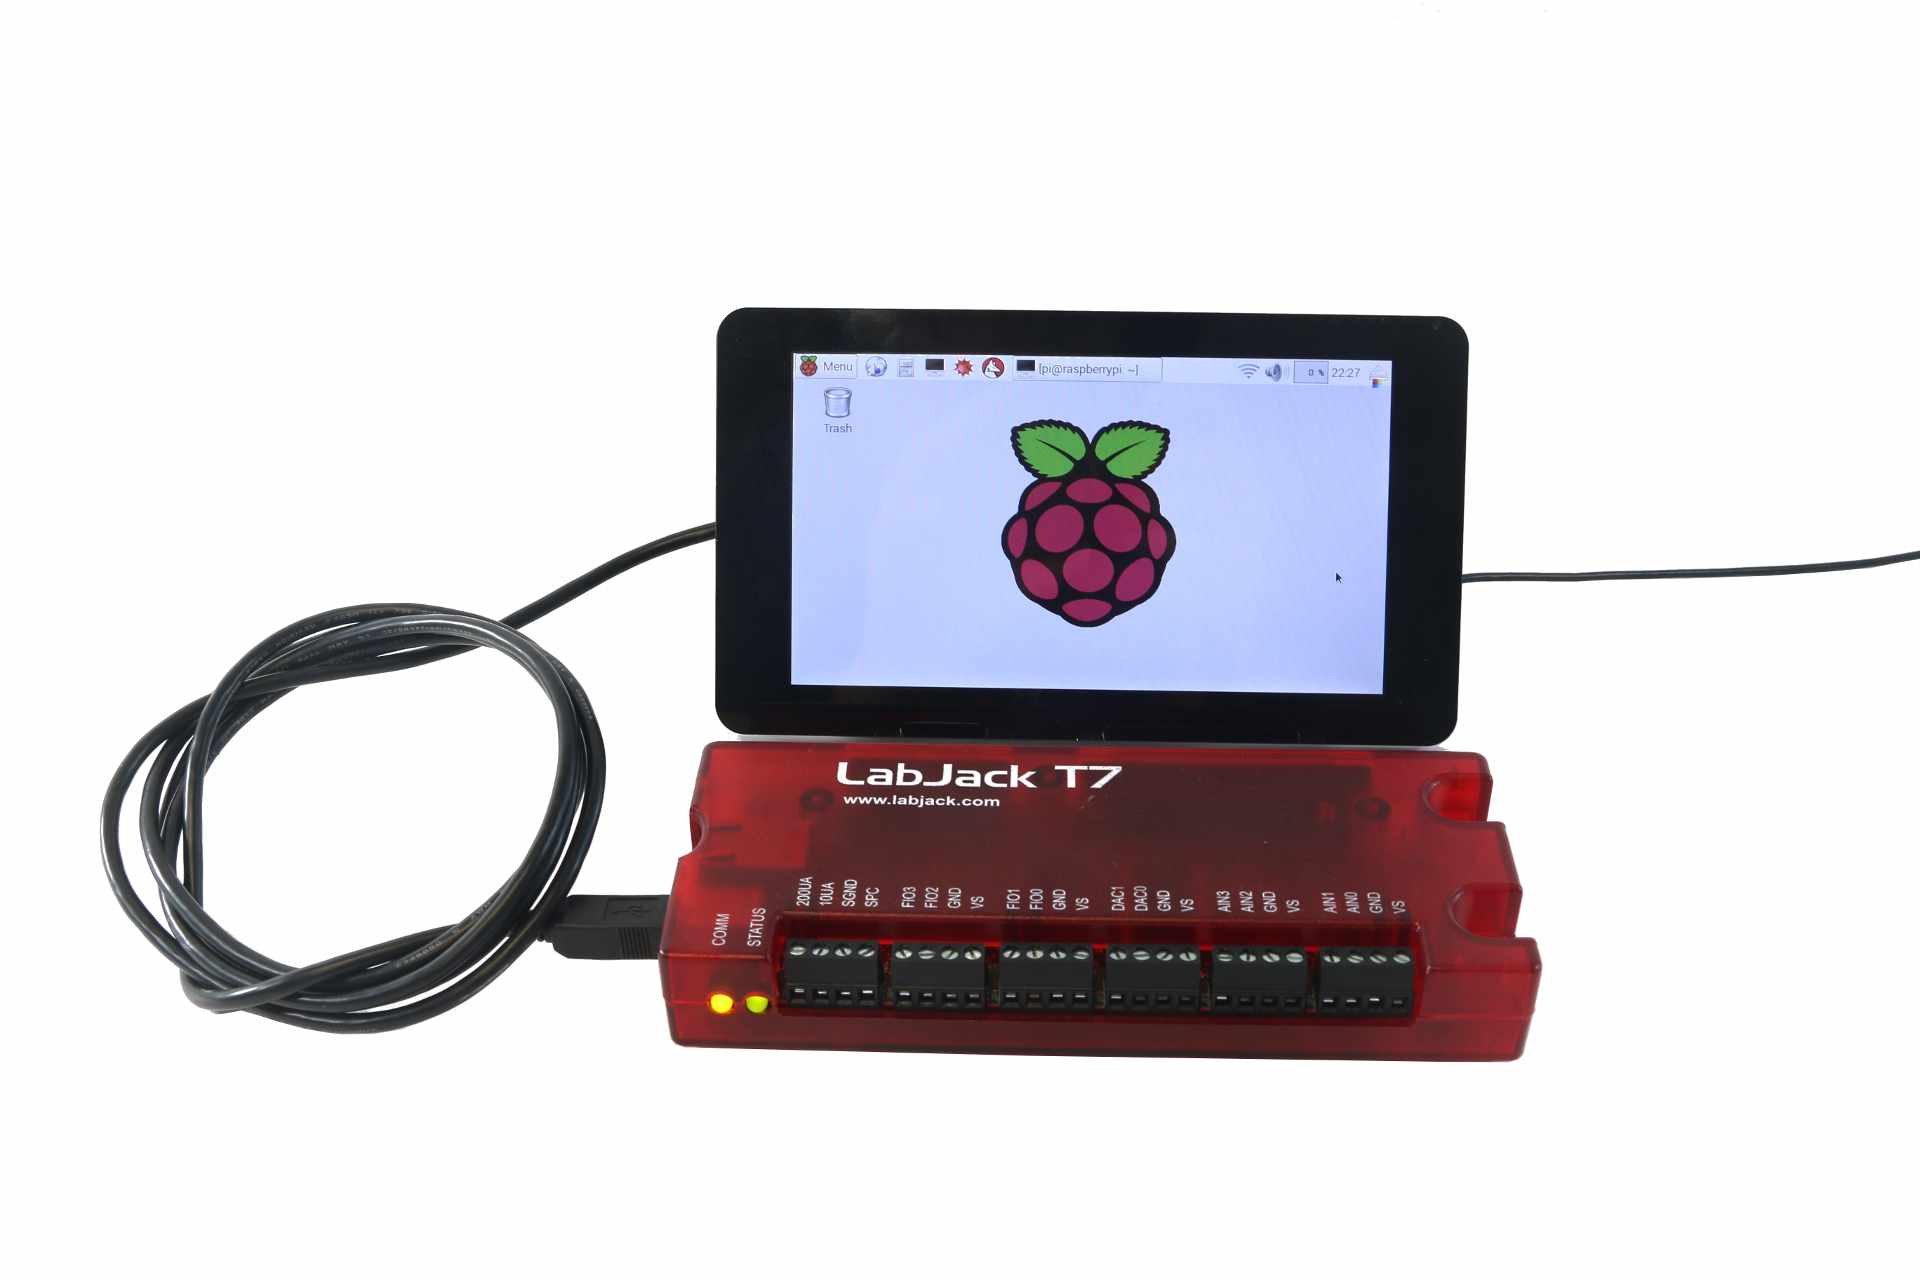
This is a simple application note documenting how to get started using a Raspberry Pi single board computer to control a LabJack T4/T7/T7-Pro multifunction data acquisition and control device. One of the best development environments that we have seen for developing applications on a single board computer is the Cloud9 IDE.

Prior Knowledge
-
A Raspberry Pi 3 or newer that has Raspbian installed. The Pi Foundation has a guide called Installing Raspbian with Noobs and a user guide, both are easy to follow.
-
Basic computer skills (connecting keyboard, mouse, turning on Raspberry Pi)
Recommended Hardware

Goals
-
Update Raspberry Pi
-
Install NodeJS
-
Install Cloud9 IDE
-
Install LabJack LJM Driver
-
Install and Run LJM Python Examples
Initial Suggestions
When you start a new "Terminal" the default starting directory is/home/pi. In this directory there are a few already existing files and folders such as Desktop, Downloads, Documents, etc. This guide recommends you to create a folder called git in this directory via the command: mkdir git. Things that you need to download via wget should go in the Downloads directory, and things that are cloned via git should go in the git directory. This is just a directory structure suggestion, it is not required.
You should connect your computer, Raspberry Pi, and potentially your T4/T7 to the same network. It is always preferable to connect devices to the internet via an Ethernet connection, however a WiFi connection will usually work just fine.
Update Raspberry Pi
It is always good to keep your system up to date. This can sometimes break things, so only do this if you aren't on a mission critical system.
These commands require sudo (admin permissions) to run. As a best practice, avoid using sudo unless necessary.
sudo apt-get update && sudo apt-get upgrade
Install NodeJS
The Cloud9 IDE requires that Node.js be installed on your system. One source (#1) recommended Node.js v0.10.28, however Node.js has been releasing native ARMv7 builds for Node starting in version ~4 so this guide recommends v4 or higher. Versions of Node.js can be found on their current downloads page. The following instructions are from source #3.
wget https://nodejs.org/dist/v6.6.0/node-v6.6.0-linux-armv7l.tar.xz tar -xvf node-v6.6.0-linux-armv7l.tar.gz cd node-v6.6.0-linux-armv7l sudo cp -R * /usr/local/ export NODE_PATH="/usr/local/lib/node_modules"
You can check to make sure you completed this step by typing the commands:
node -v
Output: v6.6.0
printenv NODE_PATH
Output: /usr/local/lib/node_modules
Install the latest Cloud9 SDK
Clone the official GitHub Repo for the Cloud9 SDK: https://github.com/c9/core and follow the suggested method of installing:
git clone git://github.com/c9/core.git c9sdk cd c9sdk scripts/install-sdk.sh
After several minutes (time is dependent on several factors) you should see a screen emit an "All OK" message. Both the download (git clone) and install (scripts/install-sdk.sh) steps may take a long time to run. As of 9/19/2016, the install step looked like it had frozen after outputting something like ~"prebuilt binaries not found...", the install step is actually downloading and installing resources. When the installation finishes, you may also see a message with instructions on how to start a Cloud9 IDE instance.
node server.js -p 8080 -a :
To initialize a Cloud9 IDE instance with remote-connections enabled:
node server.js -w /home/pi -l 0.0.0.0 -p 8080 -a :
Test Cloud9 SDK
Start the Cloud9 IDE and write down the IP address/URL that it is listening at, ex: http://192.168.1.102:8080. On a computer connected to the same network, use Google Chrome or another web-browser to navigate to the appropriate URL. The first time you navigate to the URL the page will take a long time to load because the Cloud9 IDE has to initialize the development environment. Subsequent starts will happen faster.
(Optional) Make a Cloud9 IDE local-app
Google Chrome has a very convenient feature that lets you save a webpage as a local application and run it in "desktop" mode. While you are on the Cloud9 IDE web page, go to Settings→More tools→Add to desktop..... Re-name the page and make sure the Open as window checkbox is selected. A new icon should get generated on your desktop and when you open the shortcut it will show up as an new application without any of the Google Chrome browser features. You can also use applications like NW.js and GitHub's Electron to do this and avoid using Google Chrome.
(Optional) Auto-Start Cloud9 IDE
It may make sense for you to enable the Cloud9 IDE to start when the Raspberry Pi gets turned on. The article titled "Using forever (NodeJS) with Cloud9 IDE" (Source 4) provides some information about how to do this. (see below)
sudo npm install -g forever
Create a file /forever/development.json as documented by the forever GitHub repository. An example file looks like the following:
{
// Comments are supported
"uid": "app",
"append": true,
"watch": true,
"script": "server.js",
"sourceDir": "/home/pi/c9sdk",
"args": ["-w","/home/pi", "-l", "0.0.0.0", "-p", "8080", "-a", ":"]
}
Execute the forever start command:
sudo forever start ./forever/development.json
Testing:
sudo shutdown -r now
Run the command:
forever -m 5 ./c9sdk/server.js -w /home/pi -l 0.0.0.0 -p 8080 -a :
Edit the computer's "crontab" file.
follow the instructions on the Stack Overflow page describing how to automatically-start-forever-node-on-system-reboot.
crontab -u $USER -e
(or crontab -u pi -e)
Edit the file so that the last line of text is:
@reboot /usr/local/bin/forever start -c /usr/local/bin/node /home/pi//c9sdk/server.js -w /home/pi -l 0.0.0.0 -p 8080 -m 5 -a :
Exit and save the file. Type the shutdown command to see if the process was successfully added!
Tutorial Check-Point
The Cloud9 IDE provides you with remote terminal access to the Raspberry Pi, so the rest of this tutorial can be completed using the Cloud9 terminal. Simply navigate to the URL in a web browser, or use the local-app that was created.
Install the latest LJM Library
First, we recommend checking which architecture your device uses. Most older Raspberry Pis use the 32-bit ARM architecture (ARMv7) but newer Raspberry Pis also support 64-bit ARM (sometimes called ARMv8 or Aarch64). You can easily check your computer archecture with the following command:
uname -m
This should output something like ARMv7, ARMv8, or Aarch64. From there, navigate to the LJM Downloads page to download and install the appropriate ARM Linux driver. Expand Details toward the right of the installer download link for installation instructions.
Running Examples
With the LJM library and Cloud9 IDE installed, you should be ready to run some examples. See our LJM Examples List for examples and setup instructions in numerous common programming languages. If you are new to programming, we recommend starting with a scripting language such as Python.
Alternate instructions for the U3/U6/UE9
Instead of following instructions relating to the LJM driver, follow the in-depth Linux Build instructions for the UD driver. There are also some instructions on the exodriver installer page. When trying to install the libusb-1.0 library from source and the ./configure command is failing, it may be required to install the libudev-dev package sudo apt-get install libudev-dev. The last three steps in the in depth build instructions section show how to get started using the python library for the U3/U6/UE9 devices. For more details, go to the LabJackPython examples page.
Sources
-
Medium, 9/19/2016: Using Cloud9 3.0 IDE on Raspberry Pi
-
Stack Overflow, 9/19/2016: How to install cloud9 IDE on Ubuntu Server
-
Medium, 9/19/2016: Using forever (NodeJS) with Cloud9 IDE
-
Raspberry Pi, 9/21/2016: Installing Raspbian with Noobs
-
Stack Exchange, 9/21/2016: How to unzip a zip file from the Terminal?
-
Stack Overflow, 9/21/2016: Automatically start forever node on system restart
