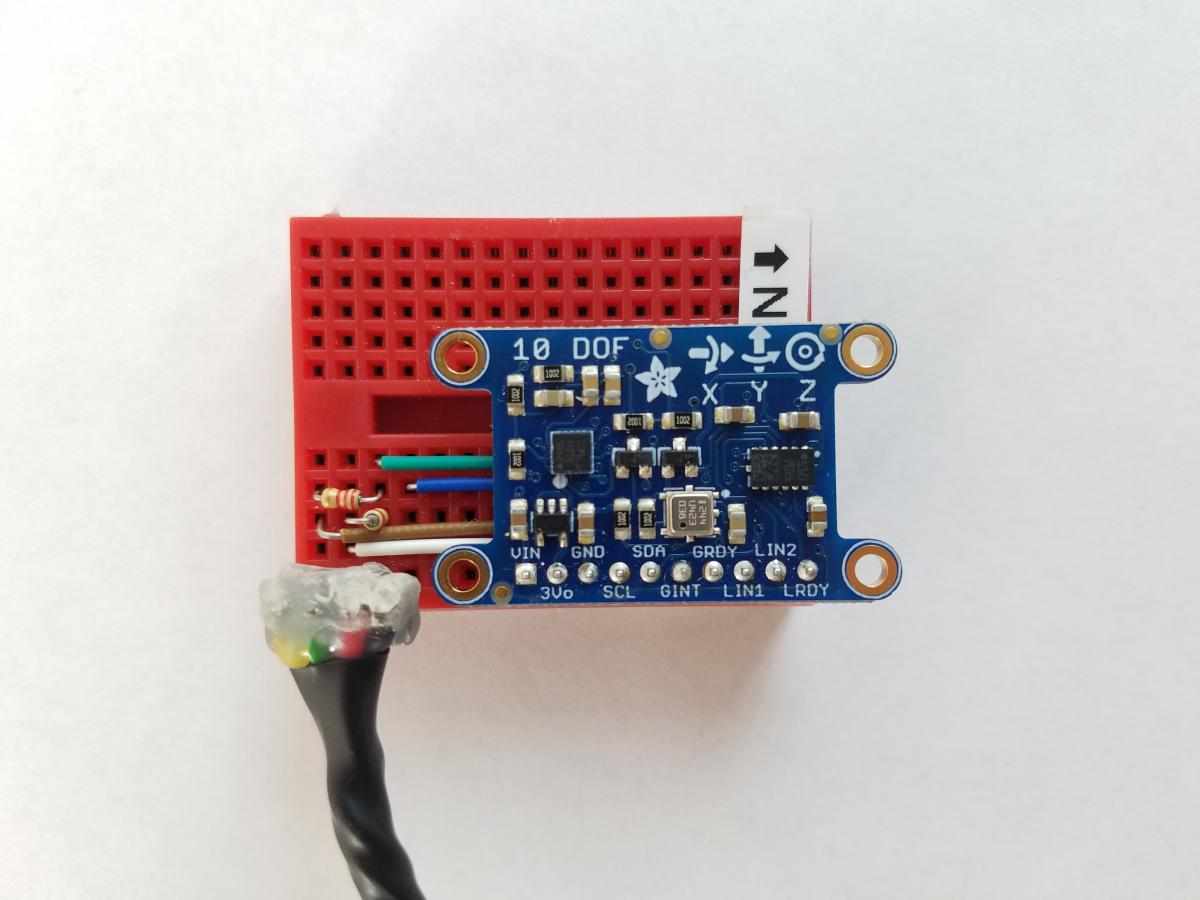
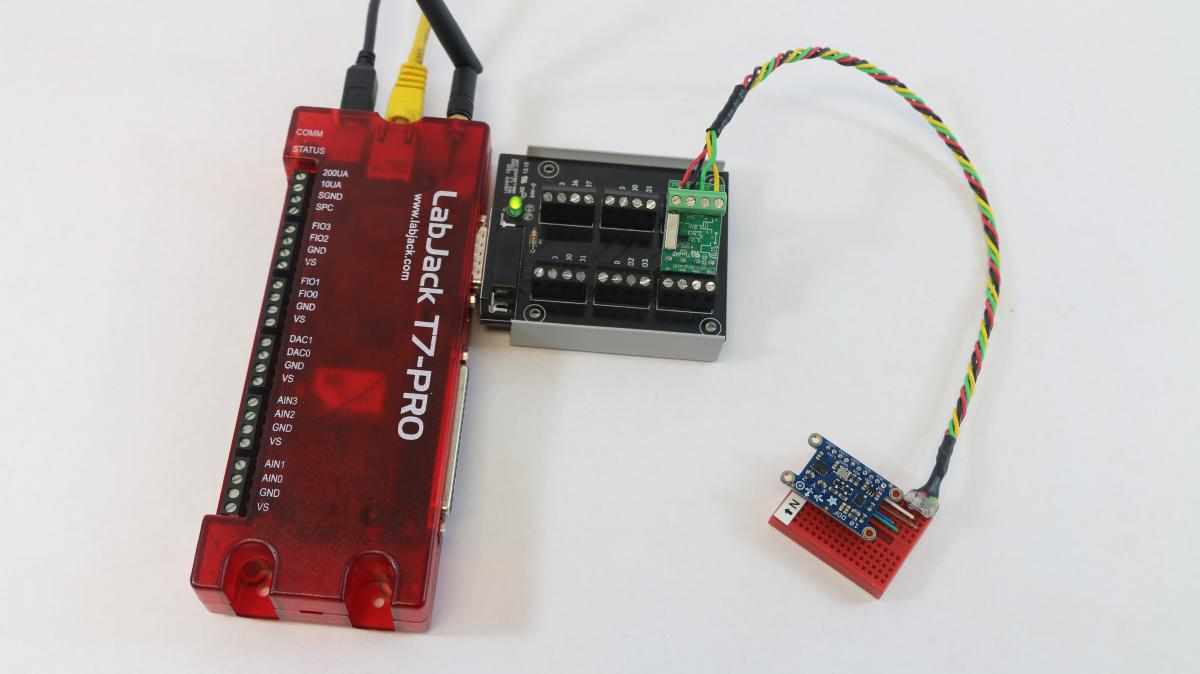
This Lua script is useful as an example of how to combine I2C communication between many slave devices. This example utilizes a collection of I2C sensors, which are all available on the Adafruit 10-Degrees of Freedom Inertial Measurement Unit (10-DOF IMU, available here: https://www.adafruit.com/product/1604)
This example uses the following I2C Sensors:
-
L3GD20H Triple-Axis Gyro
-
LSM303 Triple-axis Accelerometer*
-
LSM303 Triple-axis Magnetometer (Compass)*
-
BMP180 Barometric Pressure Sensor
*Although the LSM303 accelerometer and magnetometer (compass) are in the same package, they behave as two separate devices. See the LSM303 Accelerometer & Magnetometer Lua Script for more information.
Each of the 4 sensors must be initialized over I2C (to configure parameters such as range, data rate, and low/high power mode.
To switch between devices, the I2C bus is configured for one address, and MB.W(5104, 0, yourNewI2CAddress) is used to switch between slave devices. Reconfiguring the bus with I2C.config() would work, but takes unnecessarily long.
For more information on each I2C sensor, see the example sections below.

The 10 DOF board requires very few components to run, a 3.3V supply is provided by the LJTick-LVDigitalIO.

The accelerometer can be tested by rotating it at angles to the earth, where +1.0g and -1.0g can be measured.
Gyroscope Module (L3GD20H)
-
If you are only interested in the gyroscope from the 10-DOF IMU Breakout, it is available standalone here: https://www.adafruit.com/product/1032
-
The data obtained from the gyroscope is published to USER_RAM registers, which can be accessed by any other programs connected to the T-Series device. This allows a program to be doing one task while the device simultaneously obtains the gyroscope data.
-
The datasheet is extremely useful for determining the setting on the device, such as low-power mode and range (±245/±500/±2000 dps)
-
The other functionalities of this device, like configurable interrupts, sleep mode, and the built-in temperature sensor can be configured just as the range is configured, although these specialized functions are outside the scope of this example.
The following script records gyroscope data from the L3GD20H Gyro:
Accelerometer and Compass Module (LSM303)
-
The accelerometer can measure acceleration up to ±16g in each axis, and the magnetometer can measure up to ±8.1 gauss in each axis. The main purpose of this unit is for a tilt-compensated compass, although it can be used for a variety of functions, depending on the application.
-
If you are only interested in the LSM303 from the 10-DOF IMU Breakout, it is available standalone here: https://www.adafruit.com/product/1120
-
The data obtained from the accelerometer and/or magnetometer is published to USER_RAM registers, which can be accessed by any other programs connected to the T-Series device. This allows a program to be doing one task while the device simultaneously obtains the accelerometer data.
-
The datasheet is extremely useful for determining the setting on the device, such as low-power mode and range for the sensors.
The following script configures the accelerometer inside the LSM303. The accelerometer can be tested by rotating it at angles to the earth, where +1.0g and -1.0g can be measured:
The following script configures the magnetometer inside the LSM303:
The following script configures both the accelerometer and magnetometer inside the LSM303:
Accelerometer and Compass (LSM303) and Gyroscope (L3GD20H) Combined Example
The example at the following link combines the accelerometer, compass, and gyroscope examples into a single script: https://github.com/labjack/labjack_kipling/tree/master/ljswitchboard-module_manager/lib/switchboard_modules/lua_script_debugger/premade_scripts/i2c/10dof-adafruit-1604.lua
Temperature and Pressure Module (BMP180)
The calculations for the BMP180 to take the data and calibration constants and determine the atmospheric pressure is too large for Lua, and is completed through a python script running on a PC instead.
The BMP180 Lua example can be found in our Kipling git repository:
Below is a link to the Python script used to take the calibration constants and print the data. It is based off of page 15 of this datasheet:
