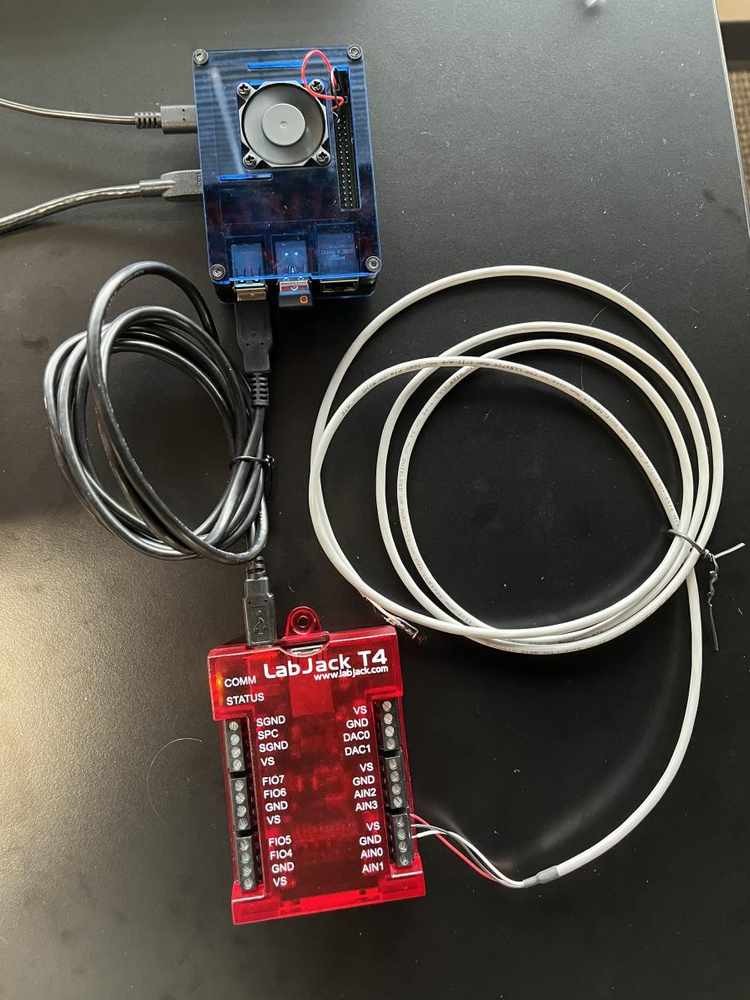
This is a simple application note explaining how to start logging data from a Labjack T4 onto a Raspberry Pi. We often have customers ask us how to perform simple standalone data logging and while you can do this using the Lua scripting features of the T-Series devices(T8, T7, T4); LabJack devices are the most powerful and deliver the best user experience when connected to a computer. Typically a customer interested in standalone data logging wants to reduce their cost, footprint but maintain reliability. This option does not add much to your costs but will greatly improve your reliability and simplify logging data without the risk of batteries going dead or a remote node losing its connection. To keep things as simple and straightforward as possible, this data logging system will be using Python.
Prior Knowledge
-
A Raspberry Pi 3 or newer that has Raspbian installed. The Pi Foundation has a guide called Installing Raspbian with Noobs and a user guide, both are easy to follow.
-
Basic computer skills (connecting keyboard, mouse, turning on Raspberry Pi)
Recommended Hardware
-
Display for Raspberry Pi
-
Keyboard and mouse to connect to Raspberry Pi
-
An analog sensor of your choosing
Goals
-
Measure and record data using a Raspberry Pi and a LabJack device
-
Create a virtual environment
-
Install LabJack LJM Driver
-
Install and Run LJM Python Examples
-
Read voltage from Analog input
-
Log readings to separate file
Update Raspberry Pi (suggested but not required)
It is always good to keep your system up to date. Updating your system ensures that you are using the newest version of Raspberry Pi’s software and avoids any compatibility issues when running programs on the Raspberry Pi. Updating can sometimes break things, so only do this if you aren't on a mission critical system.
sudo apt-get update && sudo apt-get upgrade
Create a Virtual Environment (Optional)
It is often beneficial to use a Python virtual environment to keep Python packages you use for a particular application from affecting your system Python packages and vise-versa. A virtual environment can be created using the commands below. If you are unfamiliar with virtual environments, check out Python Virtual Environment for more information.
python3 -m venv myenv #make a venv source myenv/bin/activate # activate the venv
Install the latest LJM Library
Before installing LJM, we recommend checking which architecture your device uses. Most older Raspberry Pis use the 32-bit ARM architecture (ARMv7) but newer Raspberry Pis also support 64-bit ARM (sometimes called ARMv8 or Aarch64). You can easily check your computer architecture with the following command:
uname -m
This should output something like ARMv7, ARMv8, or Aarch64. From there, navigate to the LJM Downloads page to download and install the appropriate ARM Linux driver. Expand Details toward the right of the installer download link for installation instructions.
Install labjack-ljm Python package
To run LJM using Python, both the LJM library and the labjack-ljm Python package must be installed. We recommend using pip to install labjack-ljm as shown in the following command:
pip install labjack-ljm
For more details and troubleshooting tips, check see our Python for LJM documentation.
Running Examples
With the LJM library installed and a virtual environment created, you should be ready to run some examples. Our newest Python examples can be downloaded from our labjack-ljm-python GitHub repository.
Standalone Data Logging
Your Raspberry Pi is now ready to begin logging data. There are many different ways you could record data however, one of the simplest ways is to write analog input data to a .csv file. This .csv file can then be accessed in the Raspberry Pi’s file directory and/or an external USB flash drive. An example python script for this is provided:
Going Deeper: JEDI by Machinechat
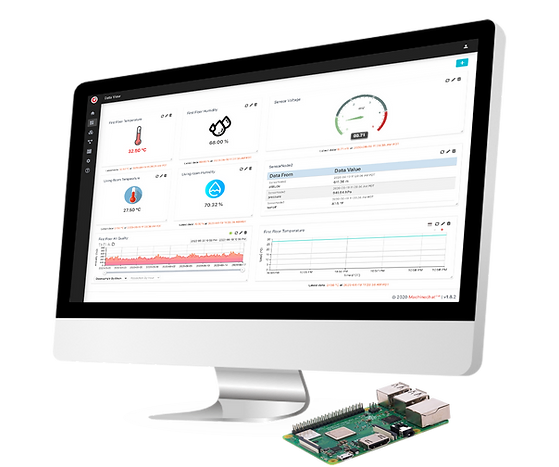
If you would like to go further than just logging data and want to monitor in real time, JEDI is a great tool that is affordable and easy to run on a Raspberry Pi. JEDI by Machinechat offers powerful yet lightweight software (less than 30MB) that can be used with our hardware. With a LabJack on JEDI, you can create rules, alerts and actions, email and text notifications, dashboards, and network monitoring, among other things. Best of all, this can all be set up in about 15 minutes. See our guide on how to use JEDI with LabJack.