FUXA is an open-source software developed by frangoteam. Using Modbus TCP, LabJack T-Series devices can be connected to FUXA. FUXA offers data collection, live charts, alarms, emailing notifications, and more.
Using a T-Series Device on FUXA:
-
Follow these sections in the FUXA wiki: Home & Installing and Running
-
Go through your LabJack Device’s quickstart.
-
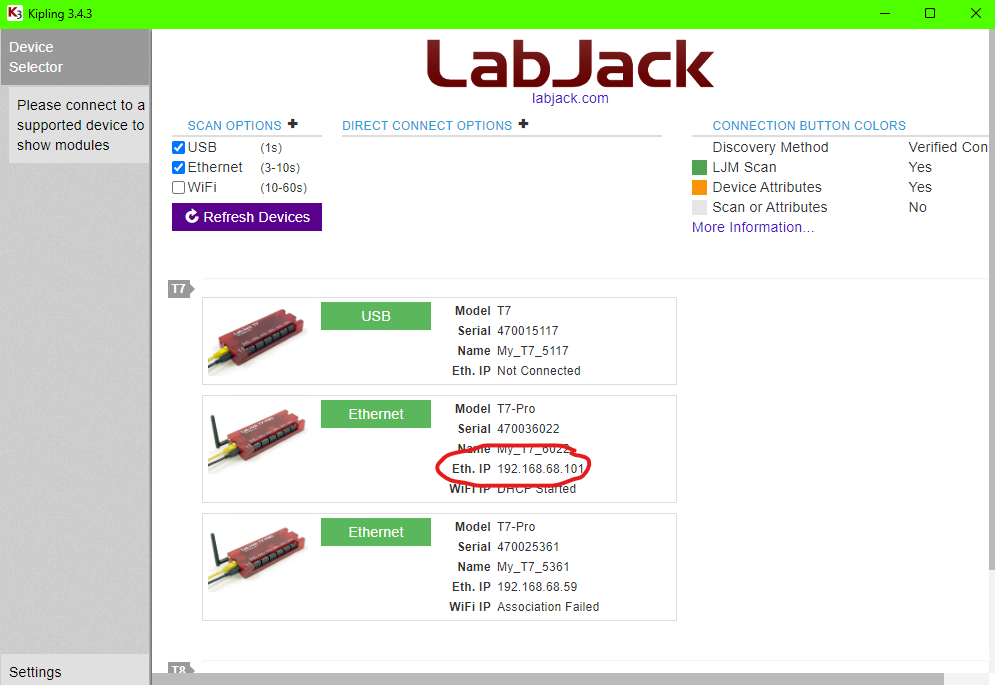
Set up WiFi or Ethernet for your T-Series device. In Kipling, your device’s IP address should be listed. Write down your device’s IP address.
-
Go to http://localhost:1881/editor, and press the settings gear in the top left corner. Select "Connections" from the pop up.
-
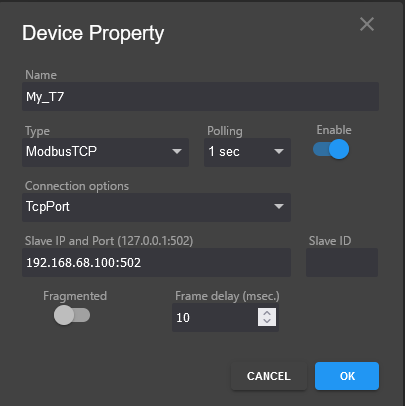
Press the blue plus in the bottom right. The following information will need to be added in the popup:
Name: Any Name
Type: Modbus TCP
Connection Options: TcpPort
Polling: Any speed should work, it just decides how fast you get new readings
Enable: On
Slave IP and Port: [your device’s ip]:502 (502 is the default port.)
-
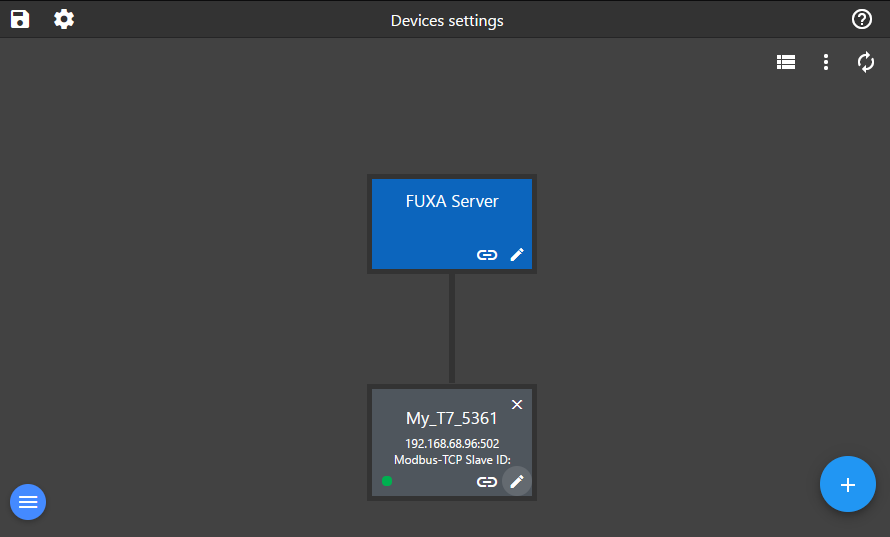
Press "Ok" To confirm these changes. Your LabJack should now be connected. If it is, you will see a green circle on the bottom corner of the box with the name of your device.
-
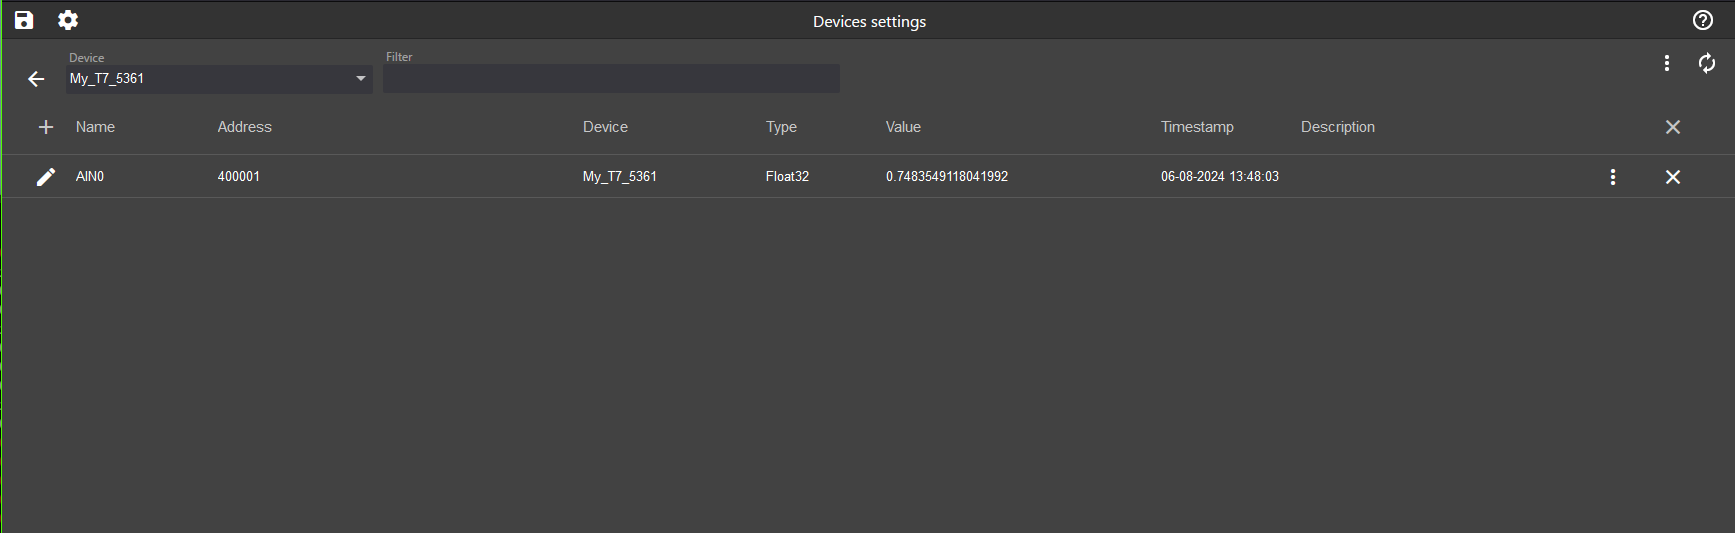
Press the link symbol on that box, and a screen should open for devices settings. This is where you add Tags- which is how you get different read/writes from your device’s terminals.
-
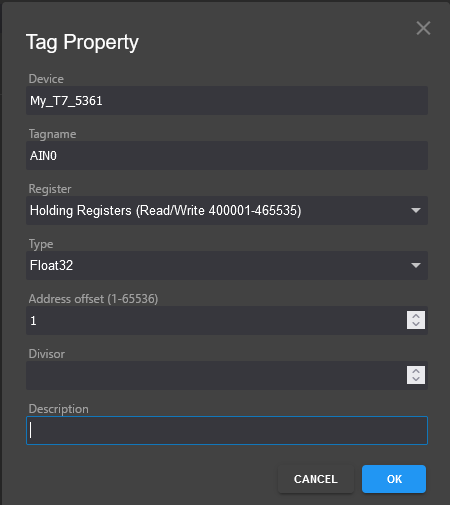
Press the plus sign on the top left of the table. Fill in the following information:
Tagname: AIN0
Register: Holding Registers (Read/Write 400001-465535)
Type: Float 32
Address Offset: 1
The address starts at 1 instead of 0, so add 1 to any of the registers you are trying to read. On the table, you will see this tag displayed as address 400001. This is equal to address 0 on your LabJack device’s Modbus Map.
-
Press "Ok" to confirm these changes. You should now see a value in the table that is the reading of AIN0.
-
Read the rest of the FUXA wiki to see what you can do with your LabJack connected.