Timestamp
The first column in the data file written by LJLogUD or LJLogM is a timestamp of seconds since midnight January 1st (Universal Time), 1904. This is a common timestamp format that can be converted to an absolute or relative timestamp.
Log Data Working Directory
LJLogM and LJLogUD will save data to a working directory that is configurable at runtime. See LJLog/Stream Working Directory for more help locating the current working directory.
Importing Log Data
The LabJack logger data files are tab-delimited ASCII files written with a generic .dat extension type. For example, you may see a log file called data_0.dat if you use default logger setting. Before importing this data, the file extension should be changed to a better extension type for your software of choice. Use your spreadsheet software import tools to import the file. Additional guidance for a few common spreadsheet software options is provided below.
Excel
Change the data file extension to .xls. Follow these steps to import the data:
-
Open a new or existing Excel workbook.
-
Click the Data tab in the top menu ribbon.
-
Select Get Data > From File > From Text/CSV (or simply click From Text/CSV on the far left).
-
In the file explorer, change the dropdown filter in the bottom right corner from "Text Files" to “All Files” to ensure your
.xlsfile is visible, then select your file and click Import. -
In the preview dialog, choose
Tabfor the delimiter. -
Click Load to place the data on the current sheet.
Open Office Calc
Change the data file extension to .ods.
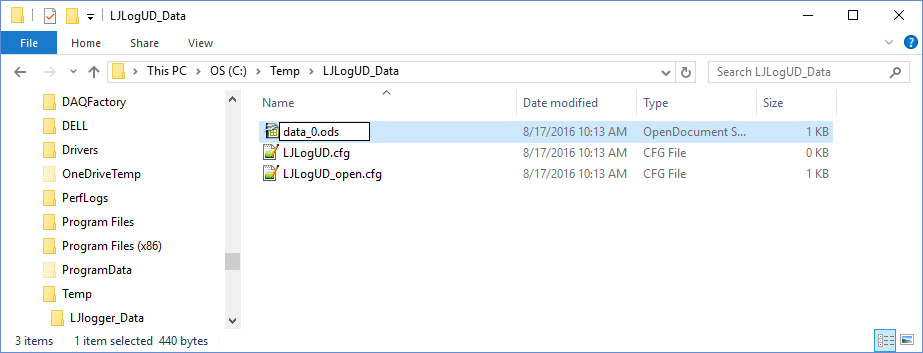
Follow these steps to import the data:
-
Double-click the data file to open it in Open Office Calc.
-
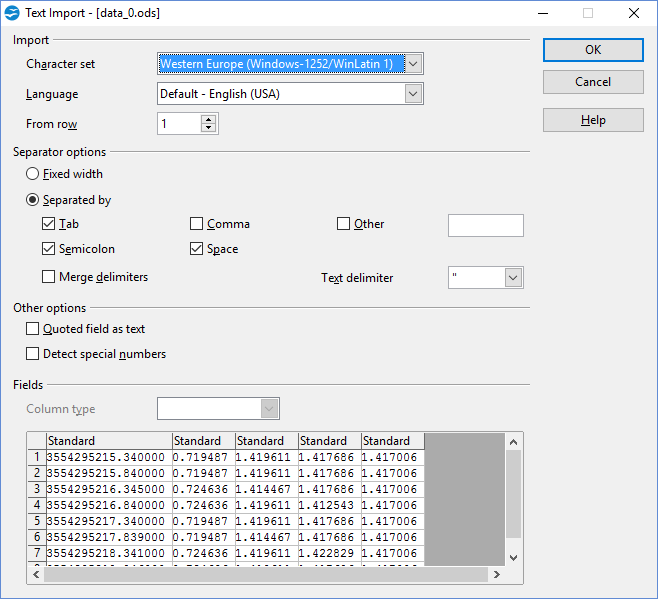
In the text import window ensure that
Tabis selected under “Separator options”. -
Click OK to proceed.
Google Sheets
Change the data file extension to .tsv. Follow these steps to import the data file:
-
Create a new, blank spreadsheet.
-
Select File > Import > Upload > Browse.
-
In the file explorer, change the dropdown filter in the bottom right corner from "All Supported Files" to “All Files” to ensure your
.tsvfile is visible, then select your file and click Open. -
Choose any “Import location” you desire, but ensure that the “Separator type” is set to
Tab. -
Ensure that the option to “Convert text to numbers, dates, and formulas” is selected, then select Import data.
Convert the Timestamp to Relative Time
The timestamp assigned to each data row can easily be modified to report a relative timestamp, i.e. the time since the first data point was acquired.
-
Insert a new column B for the relative timestamp(s).
-
The first data point should be in row 5. Select the empty cell at B5 and insert the formula
=A5-A$5to generate the first relative timestamp. -
Extend/autofill from B5 to the remaining cells of column B to generate the relative timestamp for each row.
Note: Older versions of LabJack logging software put the first timestamp in row 1. The same process described above still applies to these versions, only starting using variables at row 1, f.e. B1 =A1-A$1.
Absolute Time
The timestamp assigned to each data row can easily be modified to report an absolute timestamp, i.e. the time each data point was acquired in a specific timezone.
-
Insert a new column B for the absolute timestamp.
-
The first data point should be in row 5. Select the empty cell at B5 and insert the formula
=(A5/86400)+1462. This converts the timestamp in seconds since 1904 to days since 1900. This is a timestamp for Universal Time (UTC). -
Add a term to the formula to convert from UTC to a different timezone. For example, the difference in days between UTC and MST is
-7 hours / 24 hours/day = -0.291666667 days. The formula in B5 would be=(A5/86400)+1462-0.291666667to get a timestamp for MST. -
Extend/autofill from B5 to the remaining cells of column B to generate the timestamp for each row. column B is a timestamp in days since 1900.
-
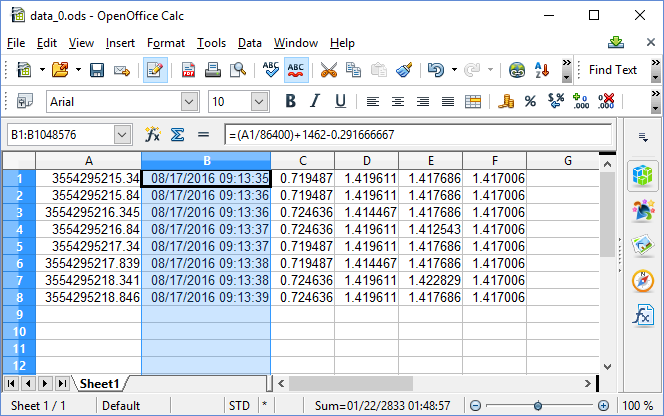
Most spreadsheet software uses days since 1900 as their start (epoch) date. In this case, all that is left to do is change the column formatting to display the values as a date and time. An example for Open Office Calc is provided below.
-
Perform a “sanity check” on the timestamps that were generated and formatted. Cell A0 should contain the log file creation date (using your computer default timezone). Cell A1 should contain the log file creation time (using your computer default timezone). Your first timestamp (in B5, formatted as date and time) should be close to what A0 and A1 describe, within roughly one logger sample interval. If the values are very different, check your timezone conversions and formatting settings.
Note: Older versions of LabJack logging software put the first timestamp and data in row 1. The same process described above still applies to these versions of software, only starting using variables at row 1, f.e. B1 =(A1/86400)+1462-0.291666667. Further, older LabJack logging software do not have log file creation date and time in the first few rows, so step 6 above cannot be performed as described.
Open Office Calc Absolute Timestamp Formatting Example
First see the timestamp generation steps above to generate timestamps in column B.
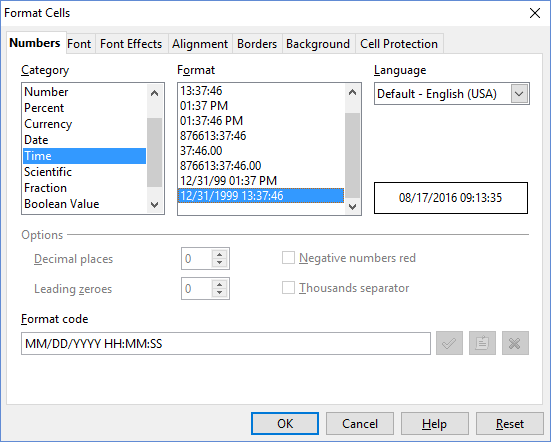
In Open Office Calc, with the entire column B selected, click Format > Cells to access the “Format Cells” window. Set “Category” to Date or Time and select the desired “Format” settings. In the image below, we select MM/DD/YYYY HH:MM:SS format. Click OK.
Now column B should display the timestamp in the format you selected.