This page is designed to help customers find the right device for Ethernet to WiFi conversion to suit their needs. The following wireless travel routers/WiFi bridges have been verified for successful operation with a LabJack Ethernet-enabled device and can be found on Amazon:
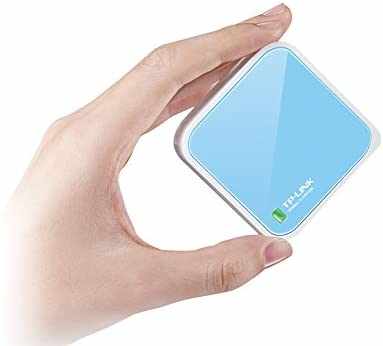
TP-Link TL-WR702N Nano Router
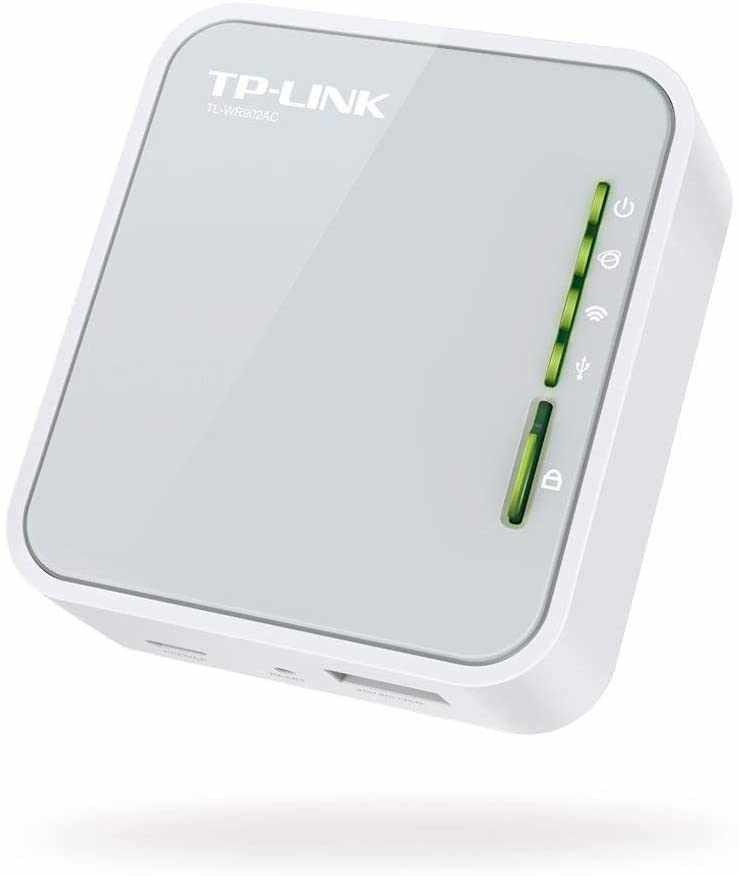
TP-Link TL-WR902AC Travel Router
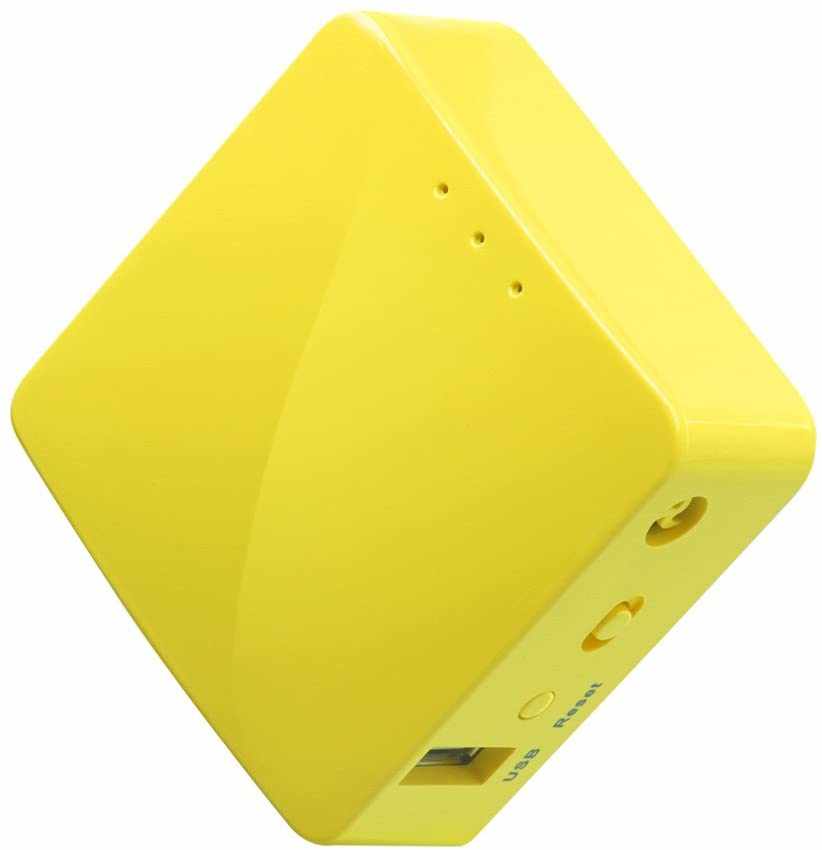
GL.iNET GL-MT300N-V2 Mini Travel Router
For more information on Ethernet to WiFi conversion, please consult the Convert Ethernet to WiFi App Note.
TP-Link TL-WR702N Nano Router
Resources
Advantages
-
Small, light, and compact
-
Clean and intuitive formatting UI
-
Inexpensive (~ $25)
Disadvantages
-
Slightly longer setup than other travel routers.
Formatting Instructions
To format the TL-WR702N Nano Router as a wireless bridge for use with an Ethernet-enabled LabJack device, follow the instructions below.
-
Connect the TP-Link Wireless N Nano Router to computer via Ethernet cord and connect it to power via micro USB.
-
On your computer select and connect to the Ethernet network that appears when the module is connected.
-
In an internet browser, visit http://tplinkwifi.net.
-
You will be redirected to an authentication page and prompted to enter the following credentials (this information is also on the back of the TP-Link module):
Username: admin
Password: admin -
You should now be in the formatting interface. In the menu on the left hand side, select Working Mode. Click the button for Bridge Mode and then click Save. You will likely be prompted to reboot the module after setting to bridge mode.
-
Click on Network>LAN and make sure that the Address Type is set to Smart IP (DHCP) and save.
-
Next using the left hand menu, navigate to Wireless>Wireless Settings and input the following data:
SSID: Insert any name for what you want the network output by the module to be named.
Region: Select the region of your network.
Channel: Select Auto
Mode: Select 11bgn mixed
Channel Width: Select Auto -
Under BSSID to be Bridgedclick the Survey button and from the provided options, select your home or business WiFi network over which you wish to connect to your LabJack.
-
This should automatically fill in the rest of the Wireless Settings fields besides password. Ensure that WDS Mode is set to Auto, and then input the password for the wireless network selected in step eight in the password field.
-
Click Save and you will be prompted to reboot the module. Reboot the device and it should now be correctly configured.
-
Ensure that your Ethernet-enabled LabJack has been configured as an Ethernet device. For assistance with setting up an Ethernet-enabled LabJack, please consult the Basic Networking and Trouble Shooting App Note.
-
Once both the TP-Link WiFi Bridge and LabJack have been formatted, connect the WiFi Bridge to the LabJack via Ethernet and ensure both the LabJack and the Bridge are also connected to power via USB.
-
Connect to the network selected in step eight on your computer and open Kipling. Click Refresh Devices and your LabJack device should appear and display that it is connected via Ethernet.
Note: After power cycling the WiFi Bridge it can take a few minutes before it will correctly connect to the desired Network. If the device does not appear in Kipling or it appears but does not allow you to connect wait several minutes and then press Refresh Devices again. -
Your LabJack can now be placed anywhere remote that has access to your WiFi network and still be connected to your computer if it is also on that network.
TP-Link TL-WR902AC Travel Router
Resources
Advantages
-
Offers dual-band frequency support (5 GHz or 2.4 GHz)
-
Easiest out of the box setup for client mode to act as a wireless bridge for use with a LabJack Ethernet-enabled device
-
Clean and intuitive formatting UI
-
Offers an additional USB port for charging or file sharing
-
Mobile application (TP-Link Tether)
Disadvantages
-
Larger than the TP-Link Nano router
-
Relatively expensive as compared to other wireless bridges (~ $40)
-
Does not have a dedicated bridge mode, and will act as a WiFi bridge when in client mode. Please consult the Convert WiFi to Ethernet App Note for more information on the benefits of operating in different modes.
Formatting Instructions
To format the TL-WR902AC Travel Router as a wireless bridge for use with an Ethernet-enabled LabJack device, follow the instructions below, or see the device installation guide and follow the instructions for client mode.
-
Connect the TP-Link AC750 Wi-Fi Travel Router to power via the included micro USB cord and power adapter.
-
Switch the physical mode switch on the side of the TP-Link module to the AP/Rng Ext/Client mode.
-
Connect the module to your PC via Ethernet cord and on your PC, connect to the wired network that appears when the module is connected.
-
Navigate to: http://tplinkwifi.net in an internet browser and login with the credentials:
Username: admin
Password: admin -
Click Next and you will begin Quick Setup .
-
Select Client and click Next.
-
Wait for the AP scan to finish identifying nearby networks. Then, in the identified networks, navigate to the WiFi network over which you hope to connect to your LabJack and click Connect.
-
Enter the password (and any other network details) for your local WiFi network selected in step 7.
-
Select Smart IP as the LAN type of the router and click Next.
-
Scroll down and select Finish in order to update the new configuration settings of the module. Wait without unplugging the module and you should see a status bar displaying the progress of the configuration update. Wait until the update is complete.
-
Now, you can disconnect the Ethernet connection between your PC and the TP-Link module.
-
Ensure that your Ethernet-enabled LabJack has been configured as an Ethernet device. For assistance with setting up an Ethernet-enabled LabJack, please consult the Basic Networking and Trouble Shooting App Note.
-
Connect the TP-Link module over Ethernet to the Ethernet-enabled LabJack device that you hope to connect to with WiFi.
-
Ensure that both the TP-Link module and the LabJack Device are connected to power. Also ensure that your PC is connected to the same local WiFi network that you configured the travel router for in steps 7 and 8. Then, navigate to the LabJack Kipling 3 application.
-
In the Kipling device selector ensure that the Ethernet scanning control box is checked and then scan for devices.
-
Your LabJack device should appear as an Ethernet connected device, and you can now connect to it remotely over your WiFi network.
GL.iNET GL-MT300N-V2 Mini Travel Router
Resources
Advantages
-
Least expensive of the tested travel routers (~$20)
-
Dual Ethernet ports
-
Offers an additional USB port for charging or file sharing
We haven't tested the GL.iNET GL-MT300N-V2, but if you try it, please let us know how it works for you.